When working with SOLIDWORKS drawing views, it is possible to customize them in various ways. Sometimes, it is necessary to label each view to indicate the customizations made. For instance, when a custom scale is used, it is important to indicate this for each view to avoid confusion during manufacturing. Individual view labels can be inserted into each view to automatically pull relevant information such as scale, name, label, delimiter, and angle. Manual view labels can be created as well.

How to Insert a View Label
To insert a view label, right-click the view and select Add View Label in the flyout menu.
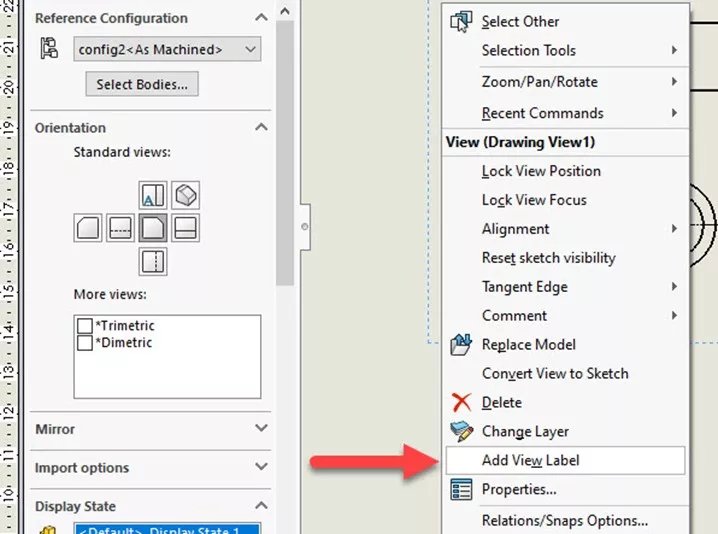
This puts a small box in the drawing where the label will be displayed.
You can drag and drop this label as needed.
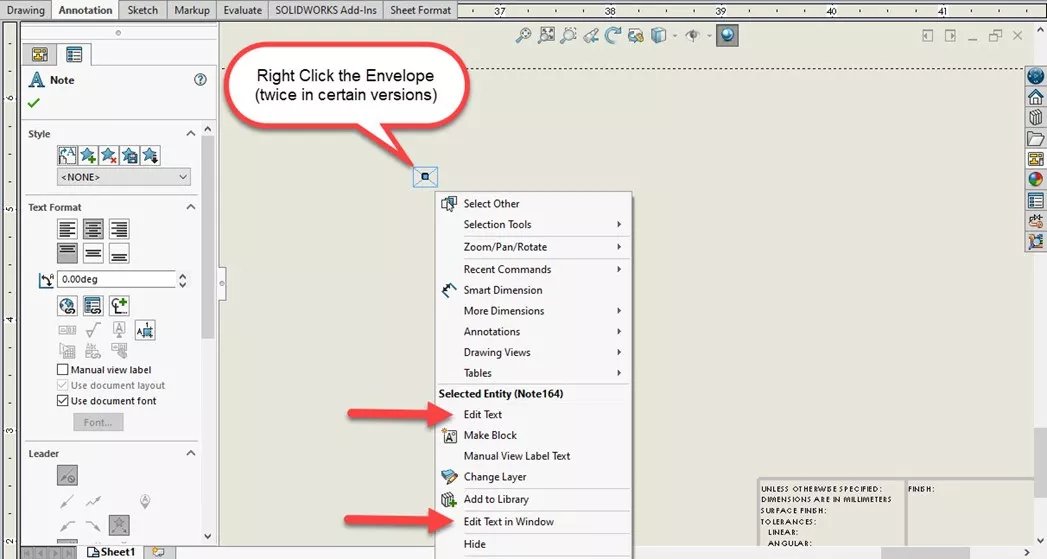
To edit the contents of the box, double-click with the left mouse button or right-click with the right button.
To enable automatic labels and tags, ensure Manual View Label Text is not selected.
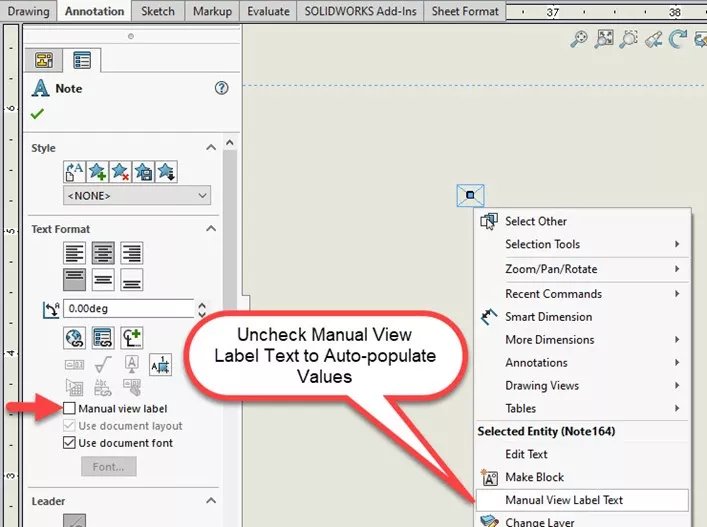
To manually enter text, select Edit Text.
To insert labels, select Edit Text in Window. This lets you choose from different label options, including Name, Label, Scale, Delimiter, and Angle.
How to Use Automatic Labels
You might notice that some (or all) label options are grayed out. This is because they are determined by values specified in Document Properties as well as the scale. If a custom scale is not specified, the Scale label will not be enabled.
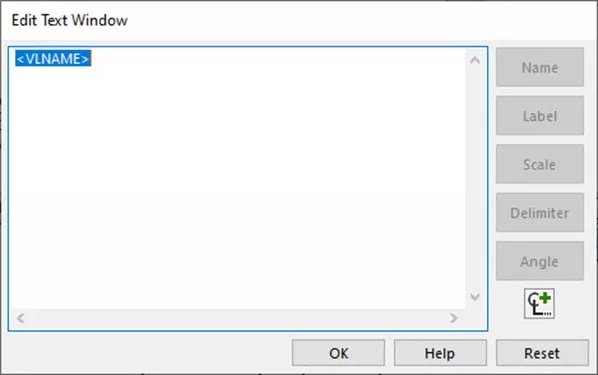
To enable the Scale label, specify a custom scale in the PropertyManager.
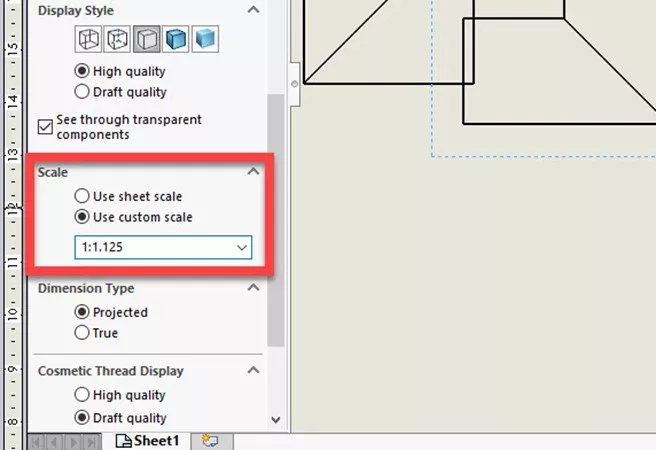
Other label options are specified for each view type in Document Properties. To get there, select Tools > Options > Document Properties > Views > View Type. Specify per standard or enter custom values. Optionally, have a view label created automatically upon view insertion.

Note: Not all view labels are available for all view types. Auxiliary, for example, has Rotation and Label whereas Orthographic does not.

Click OK to save these settings. You can also save these settings under a custom template for future use!

