This article focuses on upgrading the SOLIDWORKS PDM Professional server software. How to Upgrade SOLIDWORKS PDM Yourself is the master article on the complete upgrade of SOLIDWORKS PDM. Please refer to that article prior to upgrading your SOLIDWORKS PDM server software.
This article assumes you have read the main article mentioned above and have checked that the installed SQL and server Operating System are compatible with the new version of PDM that you are upgrading to. Furthermore, the archive server and database backups have been performed.
Note: You must be logged into the computer as a Windows administrator to install or upgrade software.
SOLIDWORKS Installation Manager
It is important to run installations and upgrades with the SOLIDWORKS Installation Manager. Why? Because the SOLIDWORKS Installation Manager will check for prerequisites and install them as needed. Failure to use the SOLIDWORKS Installation Manager may result in PDM not working, as the required prerequisites have not been installed.
If you have already completed the upgrade and discovered that PDM is not working, and you did not use SOLIDWORKS Installation Manager, then run all the installs for all the prerequisites under the folder “PreReqs”, located at the root of the installation file set folder.
Run SOLIDWORKS Installation Manager
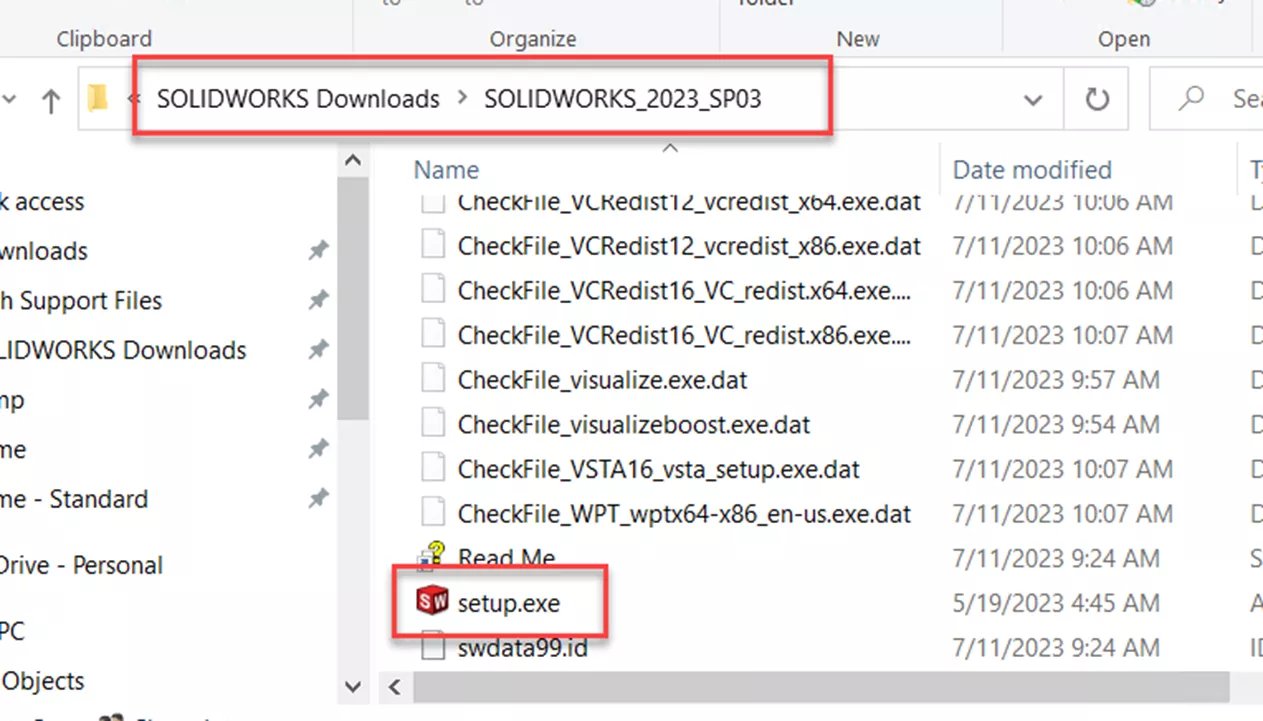
At the root of the installation folder, run “setup.exe“.
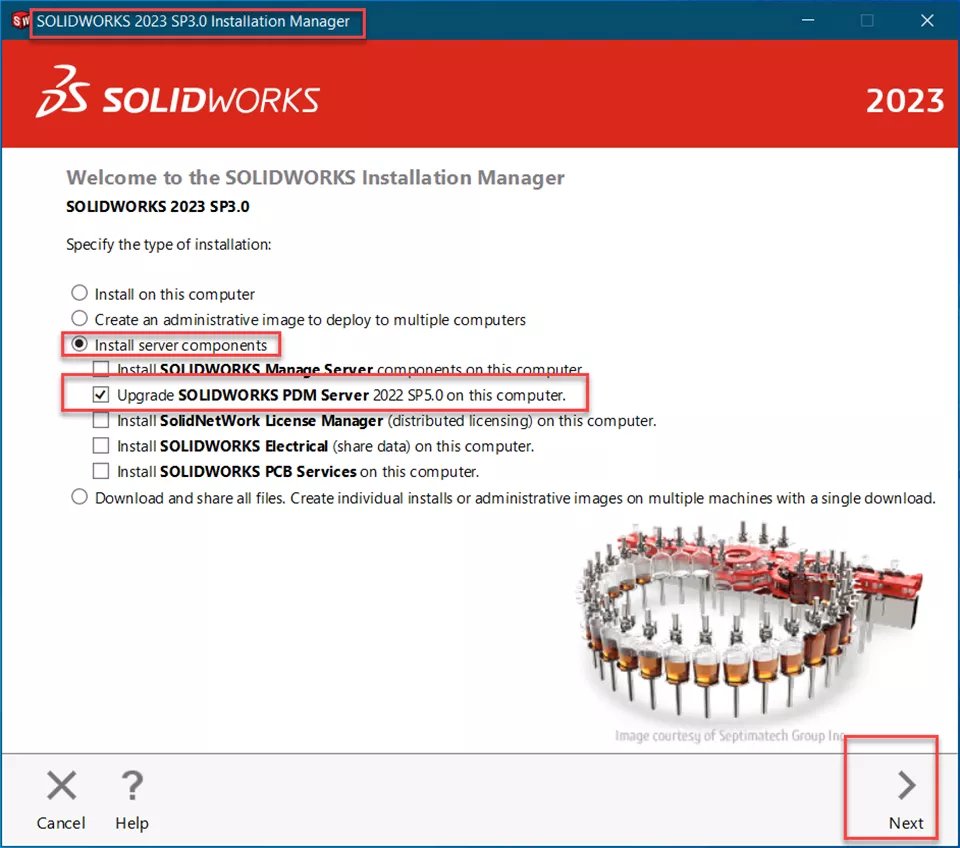
At the top of the dialog, verify it is the SOLIDWORKS [version] Installation Manager.
Select Install server components and then Upgrade SOLIDWORKS PDM Server version on this computer.
Select Next at the bottom of the dialog box.
Regardless of the PDM type already installed on the server, the dialog will default to SOLIDWORKS PDM Professional.
Select Change.
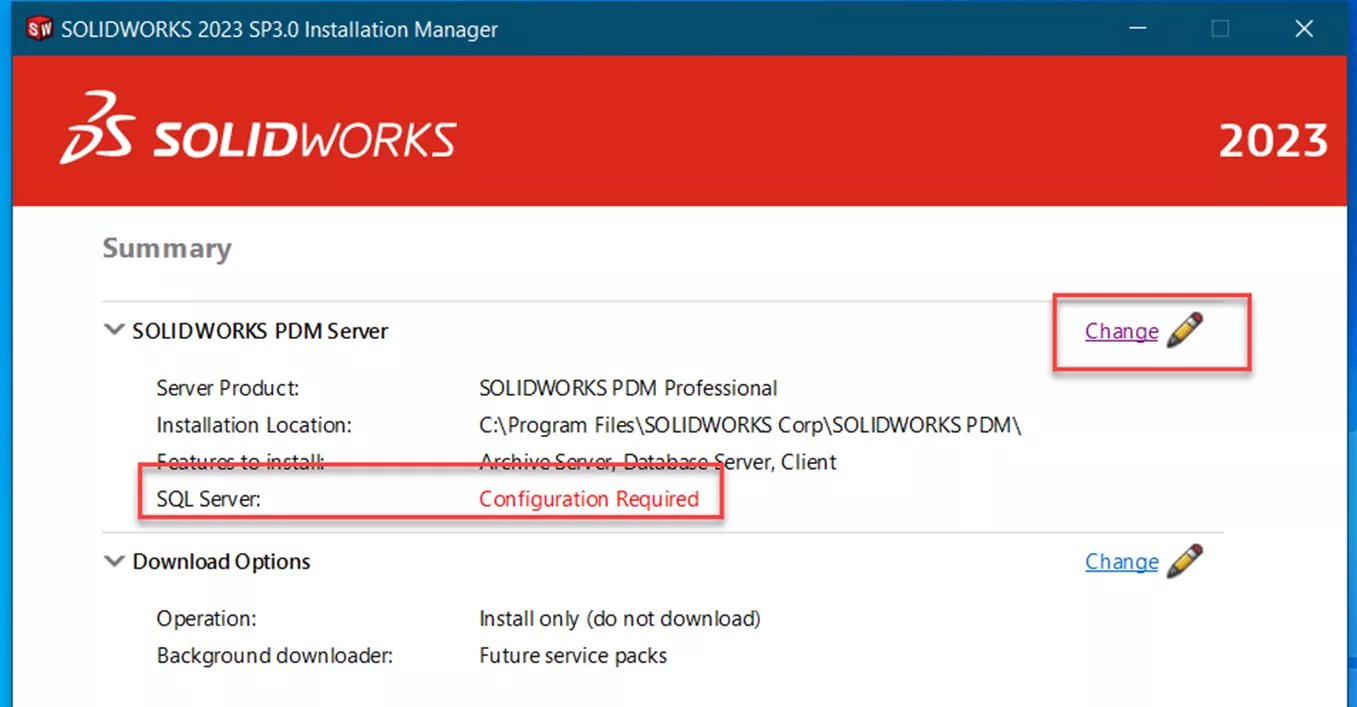
Note that the SQL Server shows Configuration Required.
Verify that SOLIDWORKS PDM Professional is selected.
Accept default installation location.
Select features that are installed on this server. Install the client for troubleshooting.
For SQL server, always specify the server name. SOLIDWORKS PDM Professional typically uses the default SQL instance.
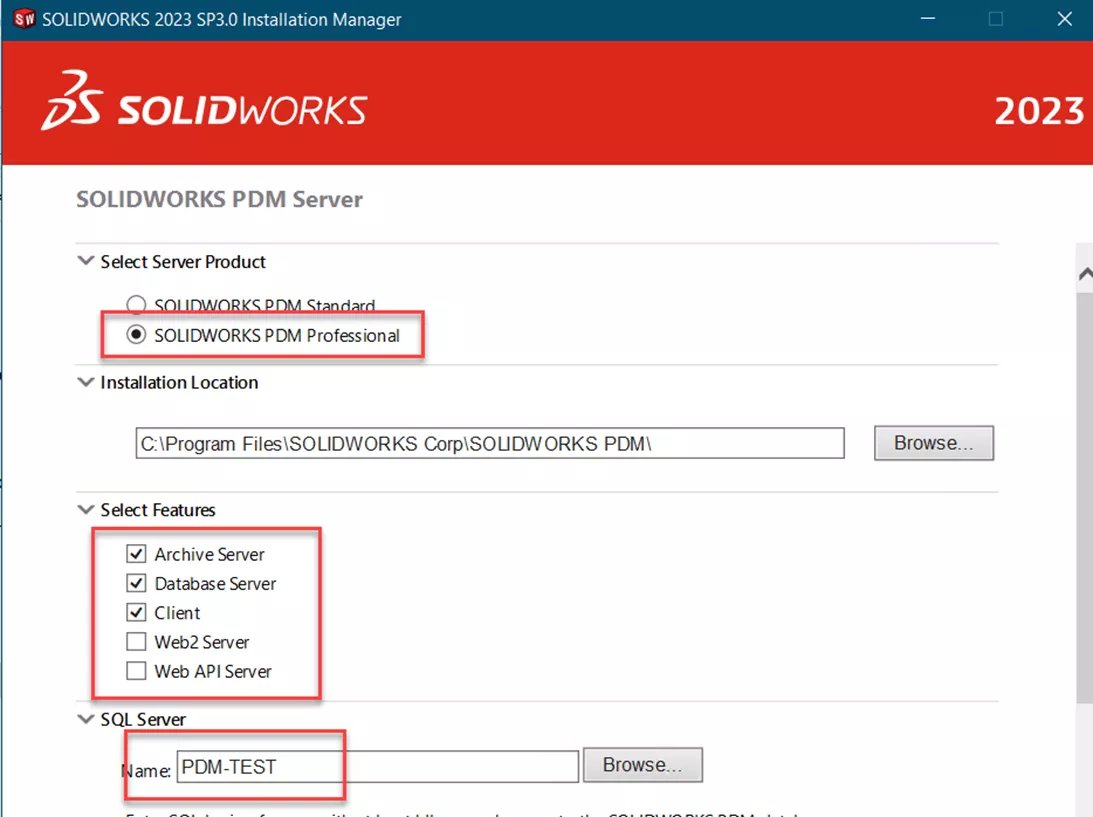
Never use “local”, as the clients cannot resolve this name.
Scroll down to finish specifying the SQL information.
Enter the credentials for PDM to use when accessing the database.
Select “Back to Summary” to return to the previous screen.
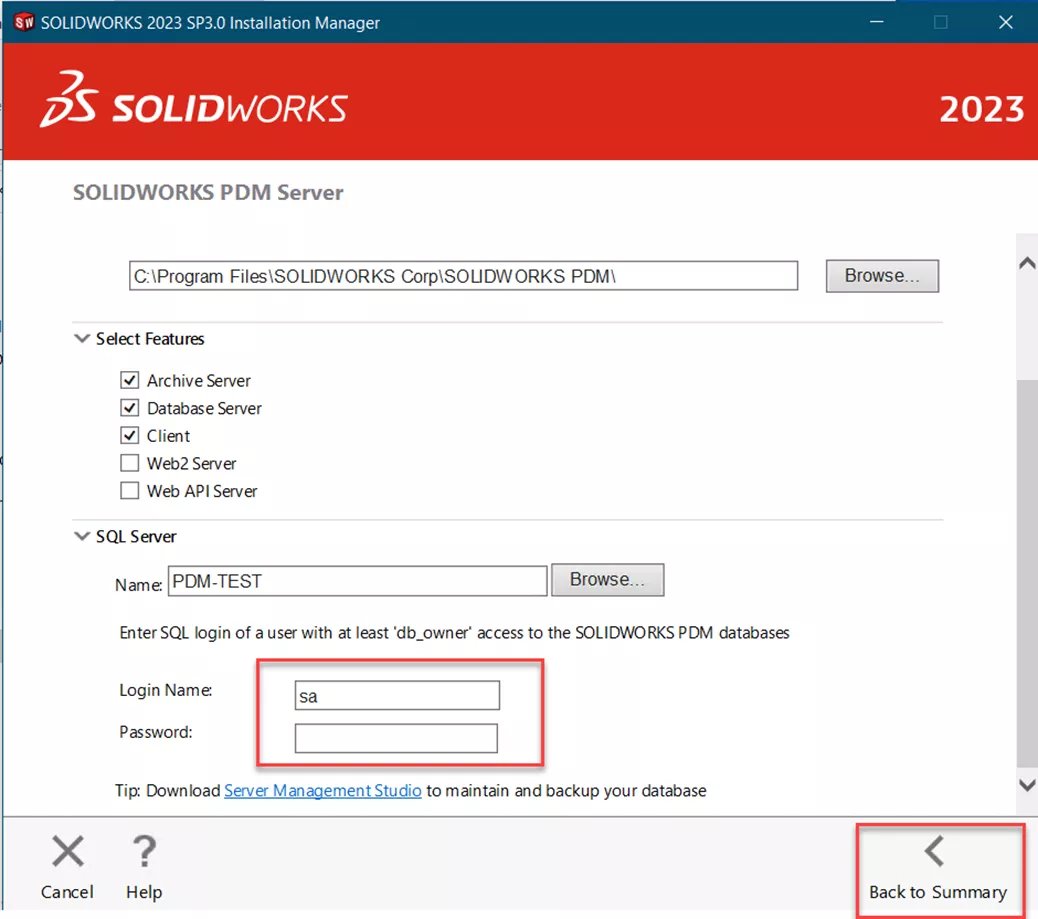
Note: While “sa” is the default SQL account, it is possible that a different account has been specified for security purposes. Use this section Verify the SQL account used for PDM to verify the account.
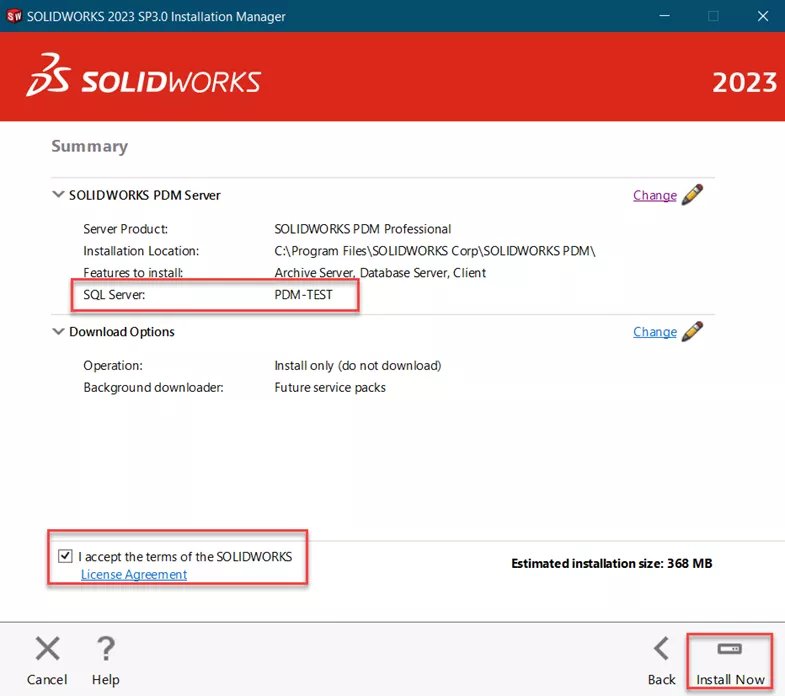
Note the SQL Server now lists the SQL instance.
Accept the SOLIDWORKS terms, then click Install Now.
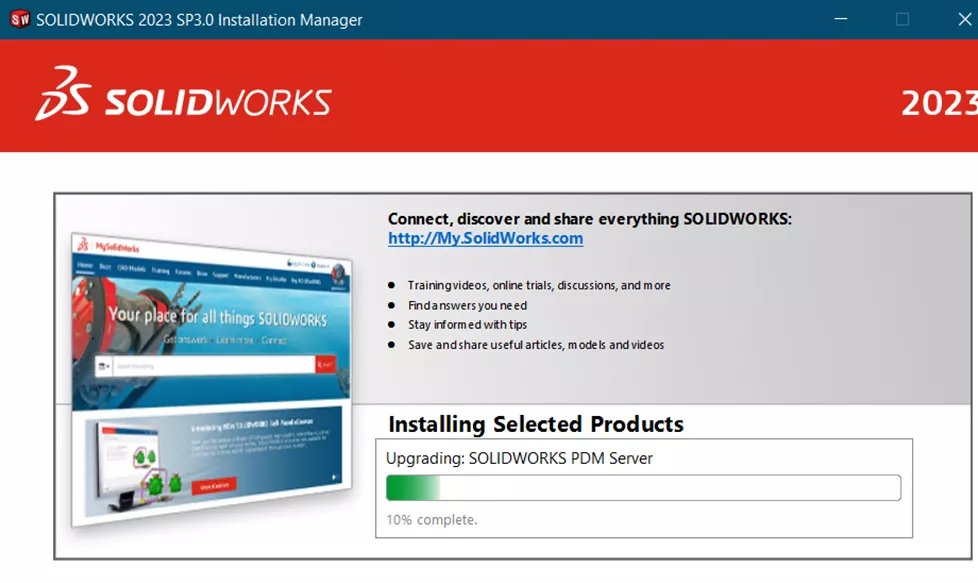
The install program runs.
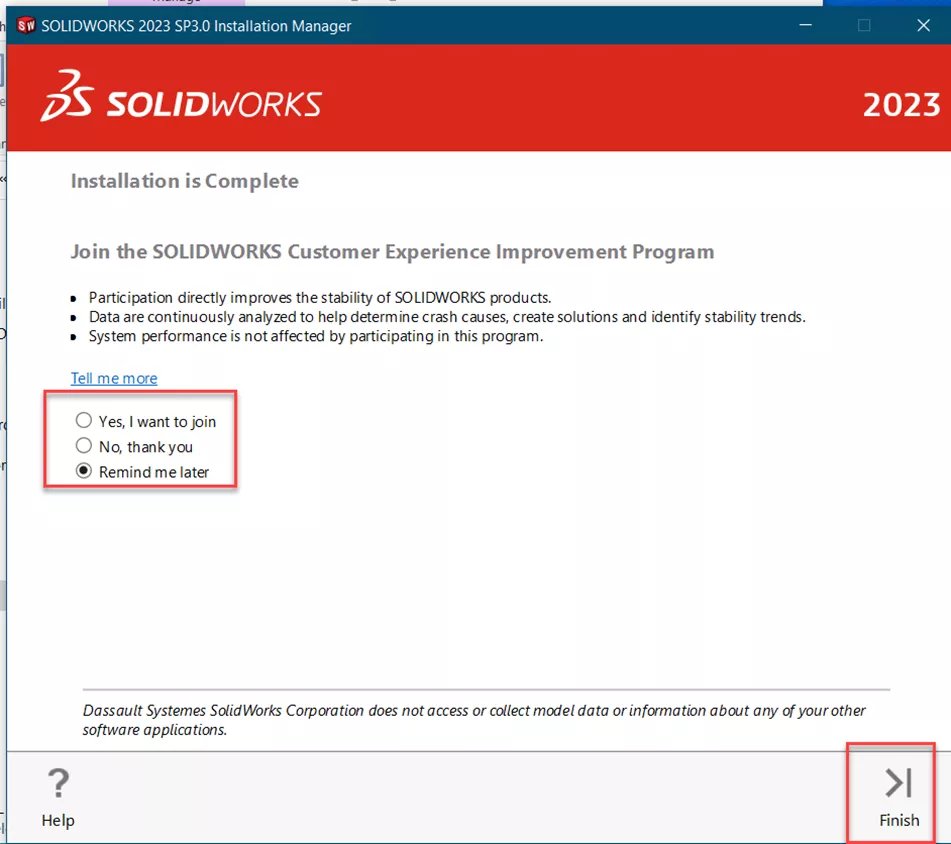
Once complete, choose your participation in the SOLIDWORKS Customer Experience Improvement Program.
Select Finish.
You must upgrade your vault databases.
Verify the SQL Account Used for PDM
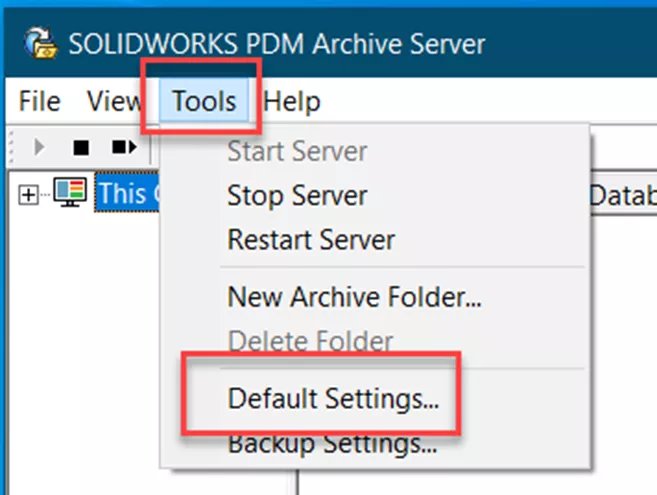
Open the SOLIDWORKS PDM Archive Server Configuration Tool on the archive server.
Go to Tools > Default Settings…
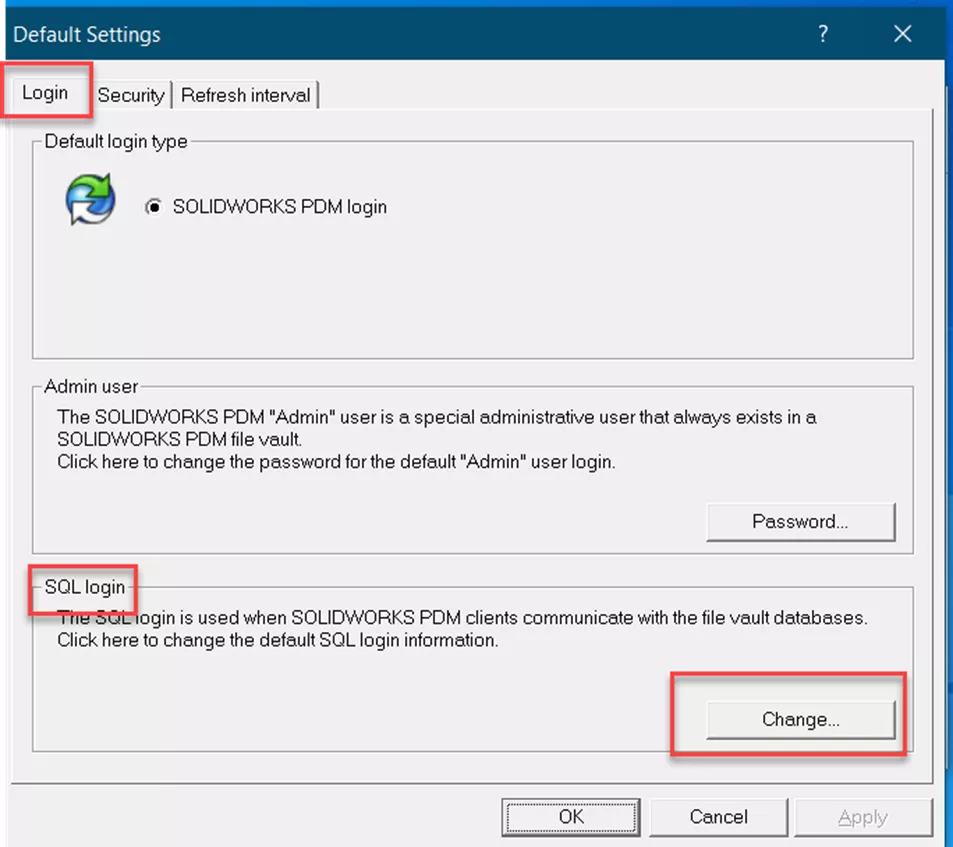
In the Default Settings dialog, select Login.
Under SQL login, select Change.
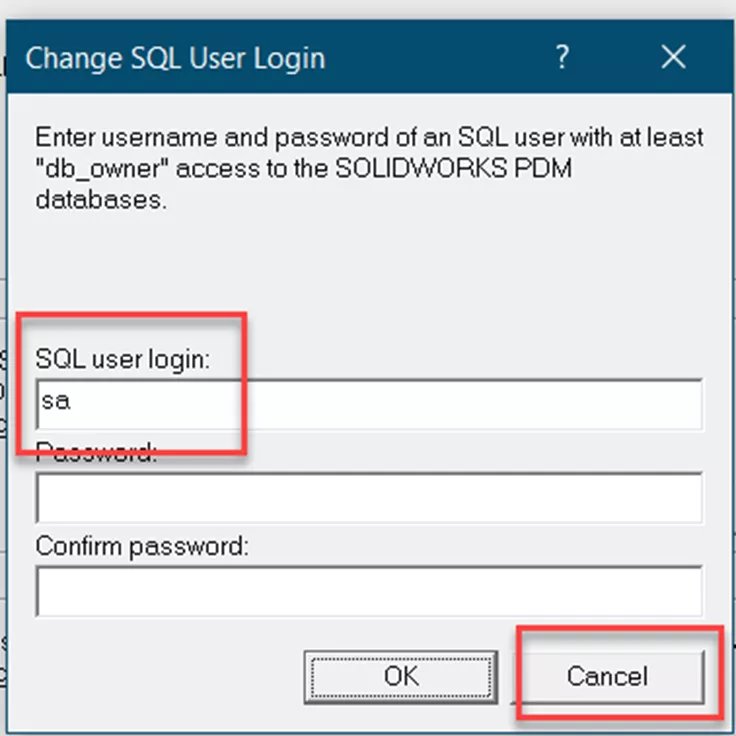
DO NOT change the SQL user login account in the Change SQL User Login dialog box.
Select Cancel, as we don’t want to change anything.
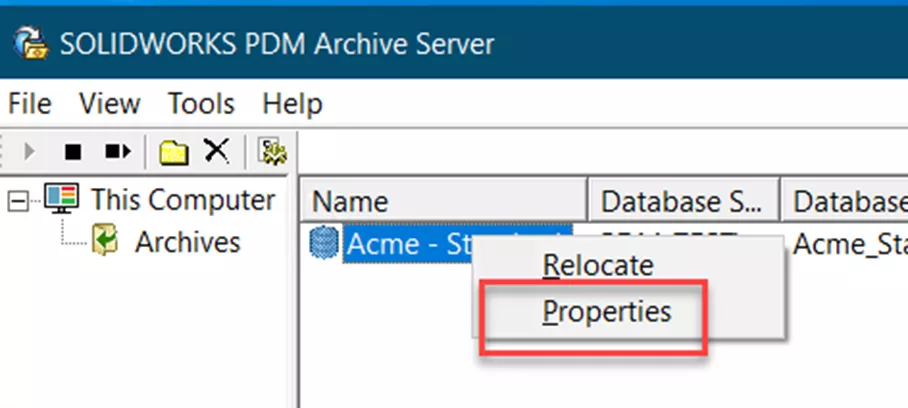
Now, we need to verify your vault is using the default SQL login.
Right-click your vault in the SOLIDWORKS Archive Server Configuration Manager and select Properties.
In the Properties dialog box, select the Login tab.
See if the box Use default SQL login is checked. If it isn’t, select Change to see what account is being used for this vault.
Select OK or Cancel to exit the dialog.
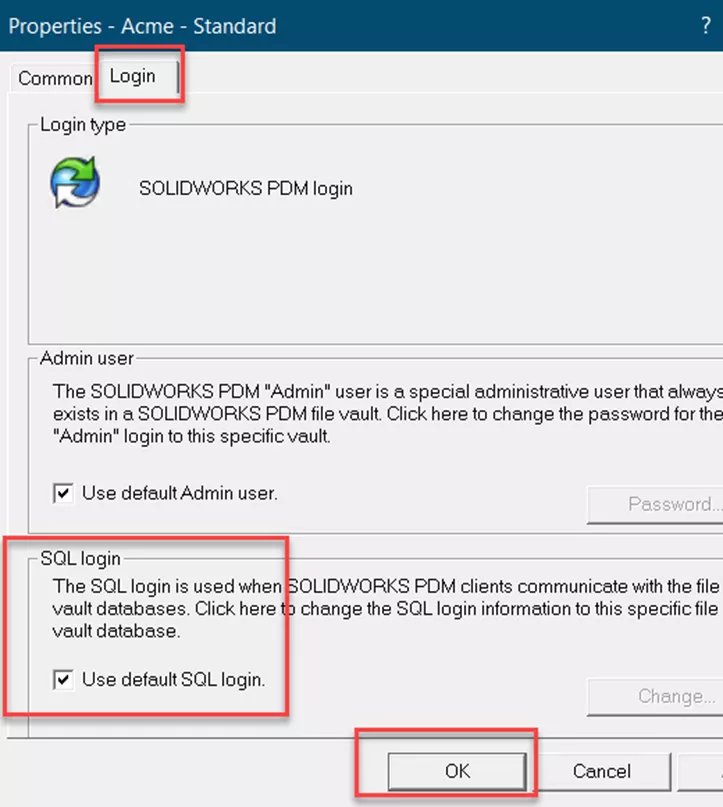
Note: It is recommended that all vaults use the default SQL login. All vaults that connect to the same SQL install must have the same SQL login credentials.

