If you have SOLIDWORKS PDM running alongside your SOLIDWORKS installation, you’ve come to the right place. When it comes to the upgrade process, there are a few additional steps to take to make sure everything goes smoothly. But before we get started, there are a few notes to mention.
The PDM Client must match the major version that is on the server, but the service pack can be different. So, if the server has PDM 2022 SP2 installed, then the client can be any service pack of 2022. However, the client will not connect to the server if, for example, it is updated to PDM 2023 while the server is still running 2022.
Usually, the PDM server is upgraded to the next major version before the SOLIDWORKS clients are upgraded.
Before the Upgrade
-
- Check-in all files
-
- This is the safest approach, as the files are copied to the server.
-
- As long as the local view is not deleted, the checked-out files can be checked in after the upgrade.
SOLIDWORKS Installation Manager
Always run installations and upgrades with the SOLIDWORKS Installation Manager. The reason is that the SOLIDWORKS Installation Manager checks for prerequisites and installs them as needed. Failure to use the SOLIDWORKS Installation Manager may result in SOLIDWORKS or PDM not working as the required prerequisites have not been installed.
Run SOLIDWORKS Installation Manager
At the root of the installation folder, generally “C:\Users\[USERNAME]\Documents\SOLIDWORKS Downloads\SOLIDWORKS [Version], run “setup.exe”.
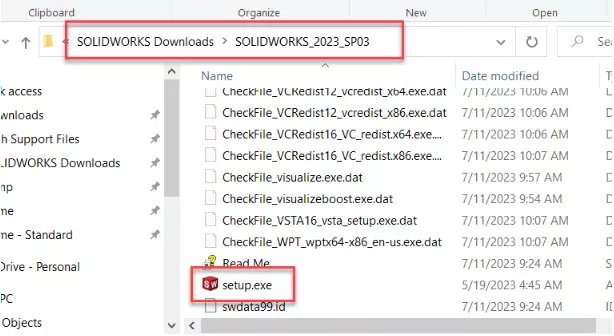
At the top of the dialog, verify it is the SOLIDWORKS [version] Installation Manager.
Select Install on this computer.
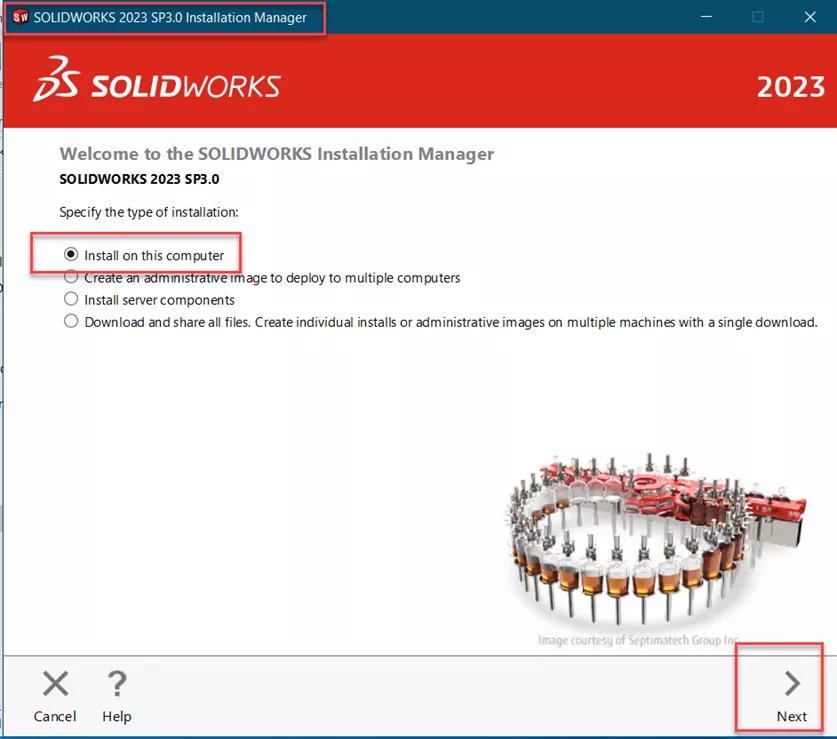
Select Next.
Verify your SOLIDWORKS serial number. Since this is an upgrade, it should populate automatically.

Verify the other components that should be on your system have their serial numbers populated, as well. Again, the serial numbers should already be there. If not, enter them as normal.
Select Next.
Note the warning that the major version of PDM on the client must match the version on the server.
Select Next.

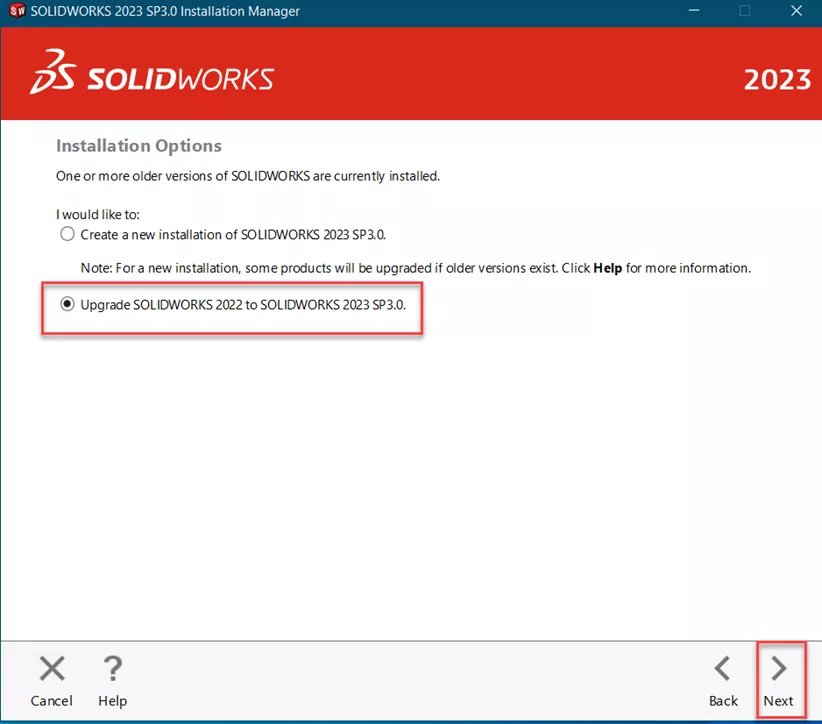
Next is the option to create a new installation of SOLIDWORKS or upgrade the existing one. In this case, select the option to upgrade your current version of SOLIDWORKS.
Select Next.
This next screen is to verify the components to install. Since this is an upgrade, everything should be selected.
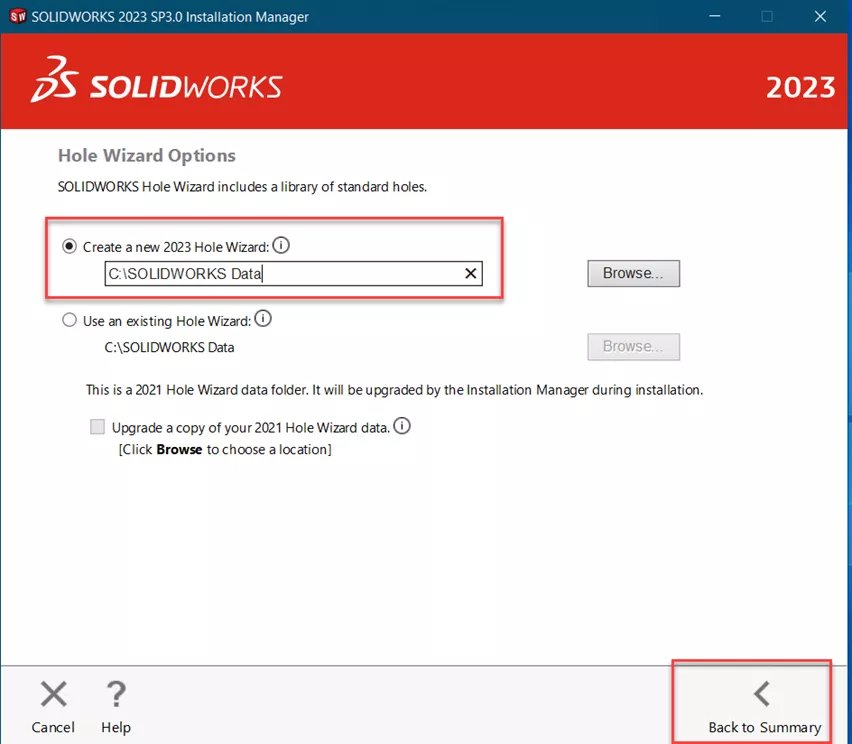
Importantly, we must specify how SOLIDWORKS is supposed to manage the Hole Wizard. Select Change on this option.
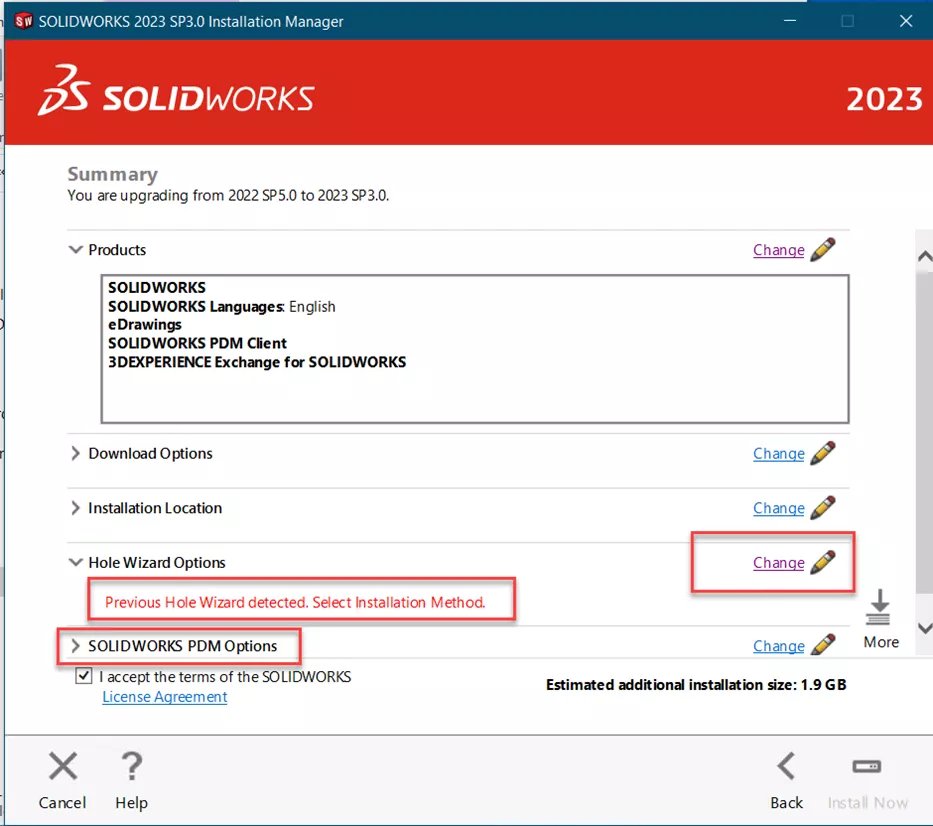
Also, note that SOLIDWORKS PDM Options is listed. This indicates that the SOLIDWORKS PDM Client is part of this installation.
Toolbox Location During Installation
After clicking Change on the Hole Wizard Options, specify how to handle the Toolbox installation. The Hole Wizard uses the Toolbox database, so they are connected. It is recommended to create a new version of the Toolbox. Doing so will allow you to complete the installation, regardless of the location of your company Toolbox.
After the installation, open SOLIDWORKS and change the location of your Toolbox to the company’s desired location.
Once SOLIDWORKS is connecting to and using the company location, delete the fresh installation of Toolbox that was installed on your computer.
Select Back to Summary.
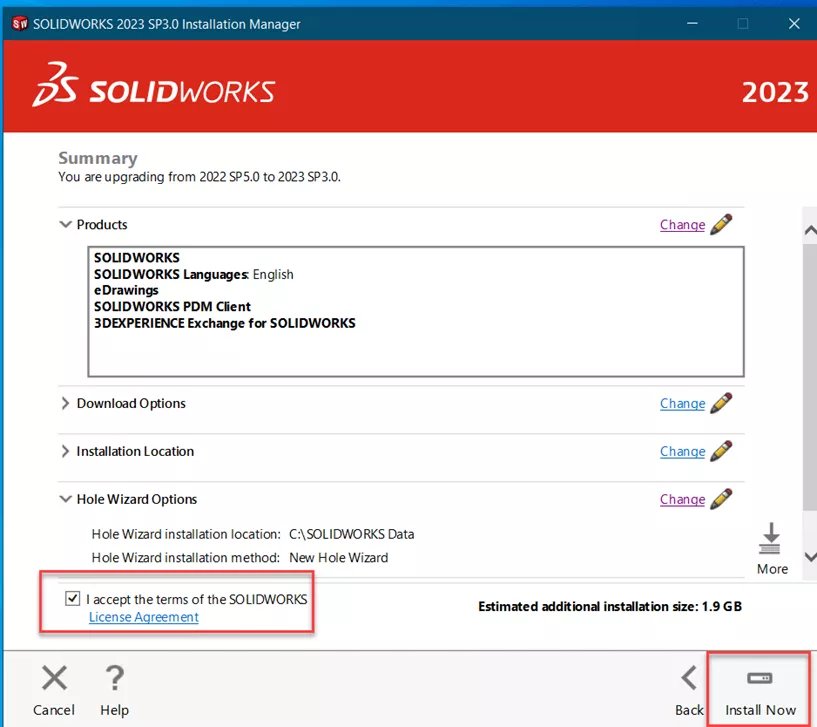
Accept the terms of SOLIDWORKS.
Select Install Now.
If you have network licensing, this screen will show. Verify the licensing server is correct.
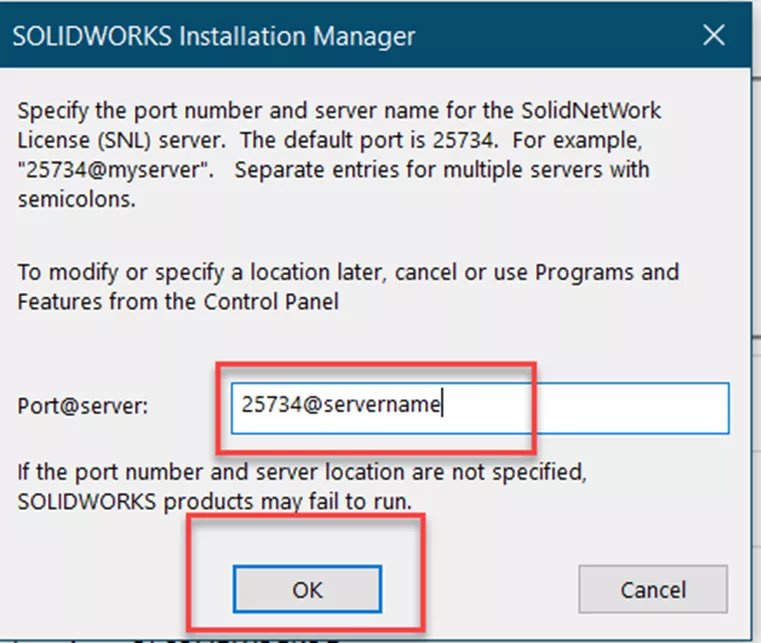
Select OK and the upgrade runs.
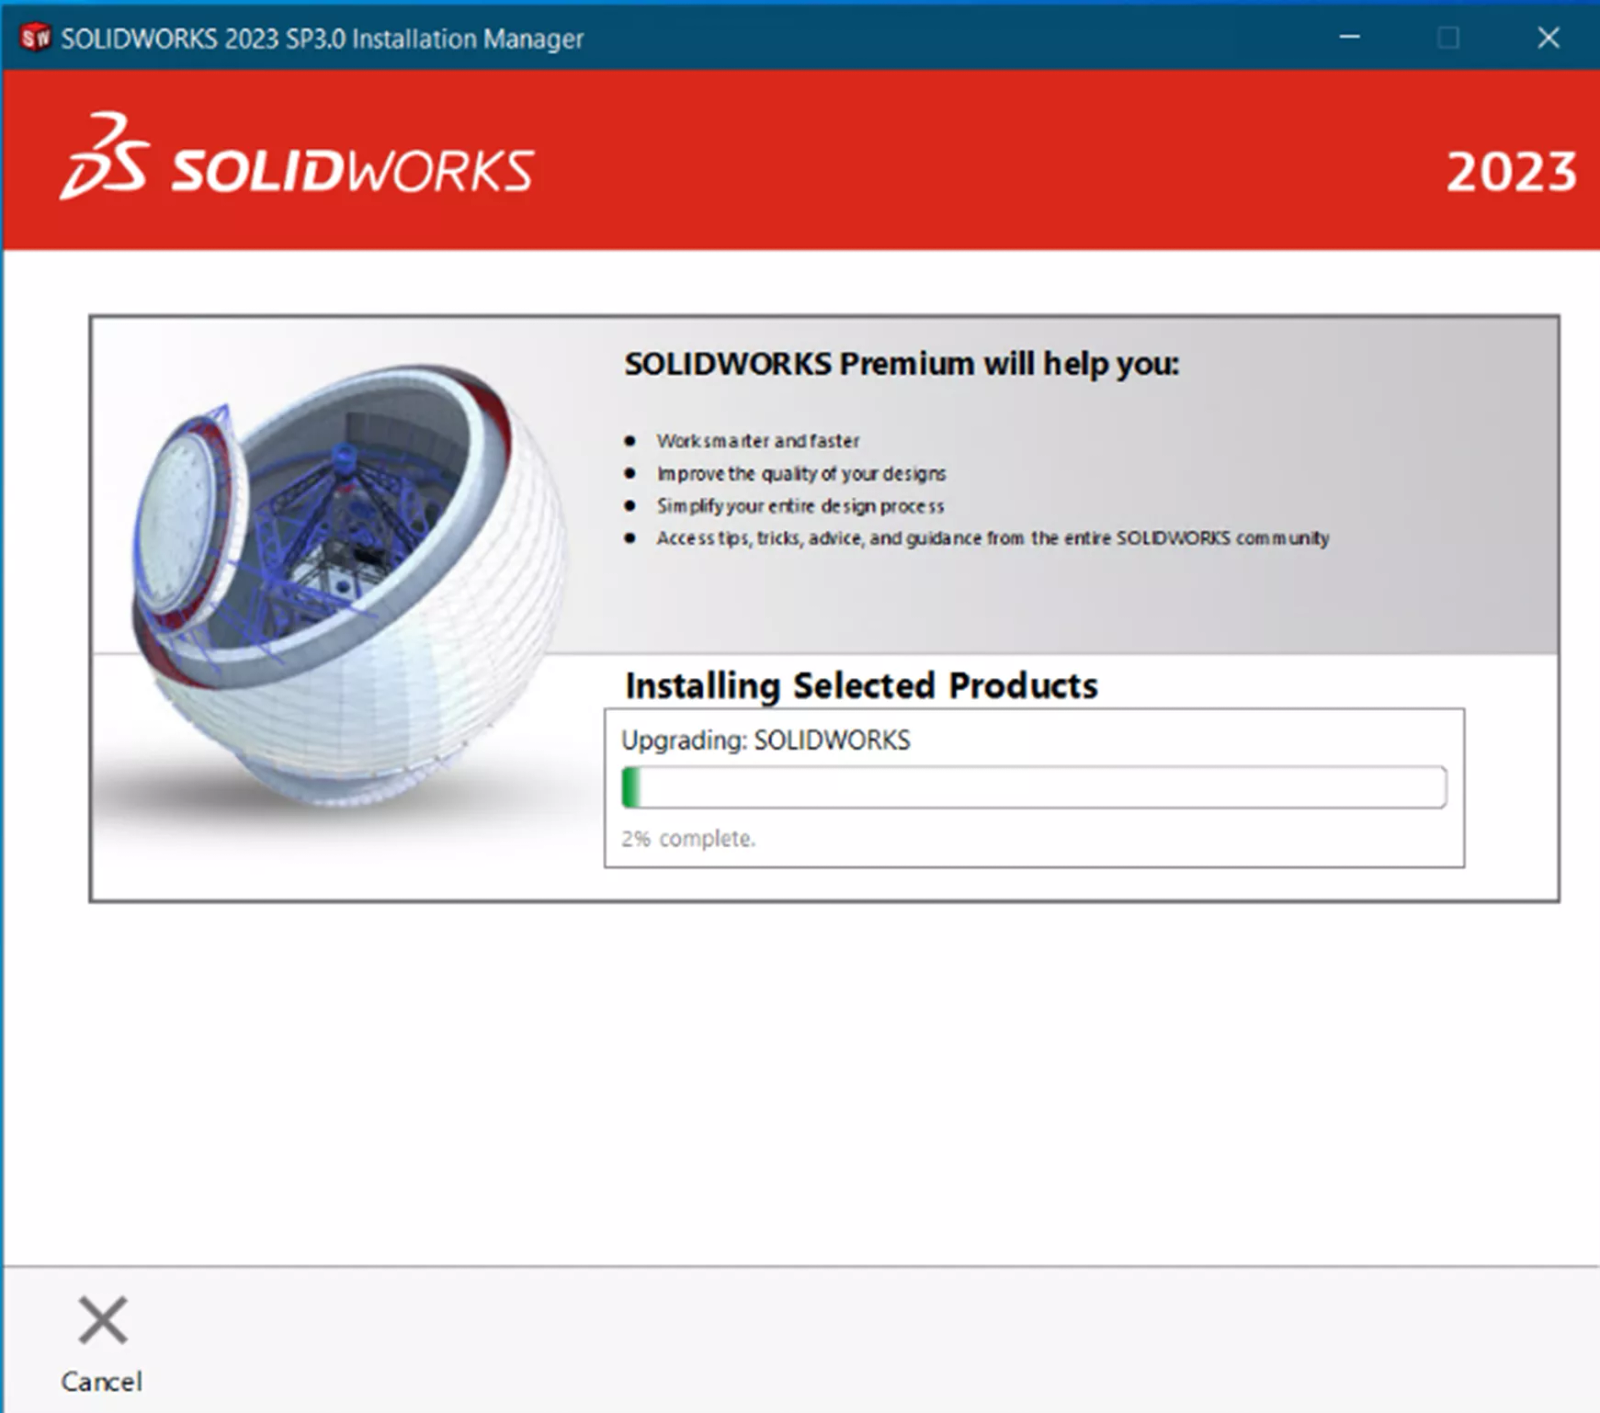
Once complete, choose your participation in the SOLIDWORKS Customer Experience Improvement Program.
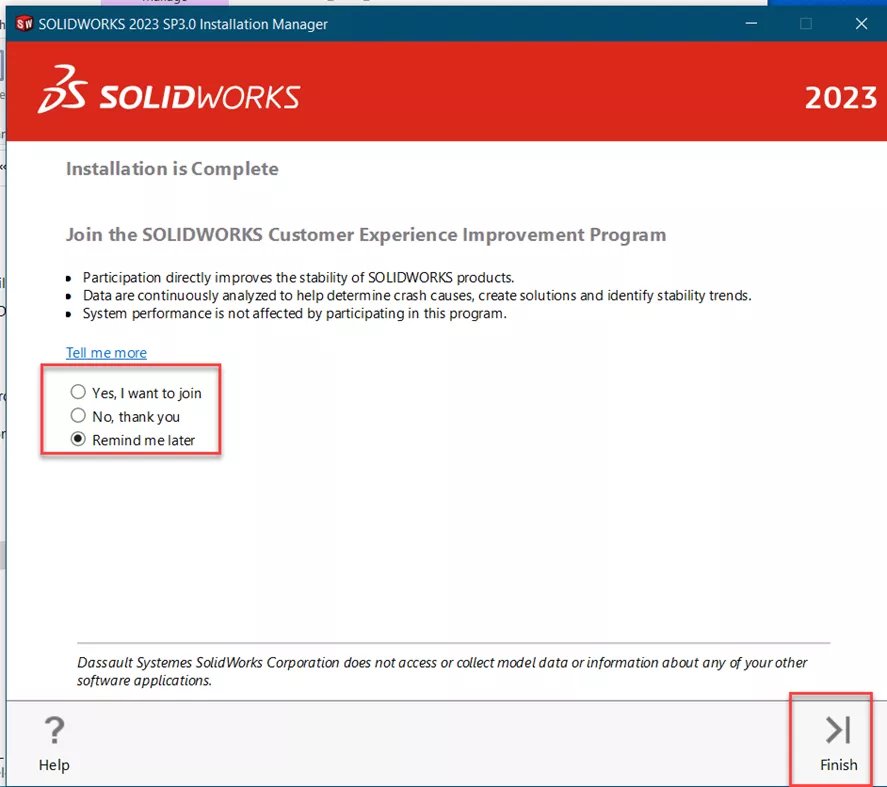
Select Finish.
Remember to reboot your computer after the installation.

