Unlike conventional CAD software, 3DEXPERIENCE ENOVIA is designed to work with much larger assembly sizes by utilizing a multi-layered visualization approach. It is now possible to build the entirety of a large assembly in one model. This allows the designers to explore the full assembly, define the working context, then load only the minimum required models for authoring.
Why Filter a Large Assembly in 3DEXPERIENCE
However, the ability to work with the full assembly adds complexity to the product structure, introducing new challenges. For example, handpicking parts in proximity to a tube system might be tolerable on smaller assemblies but becomes exponentially laborious as the model size increases.
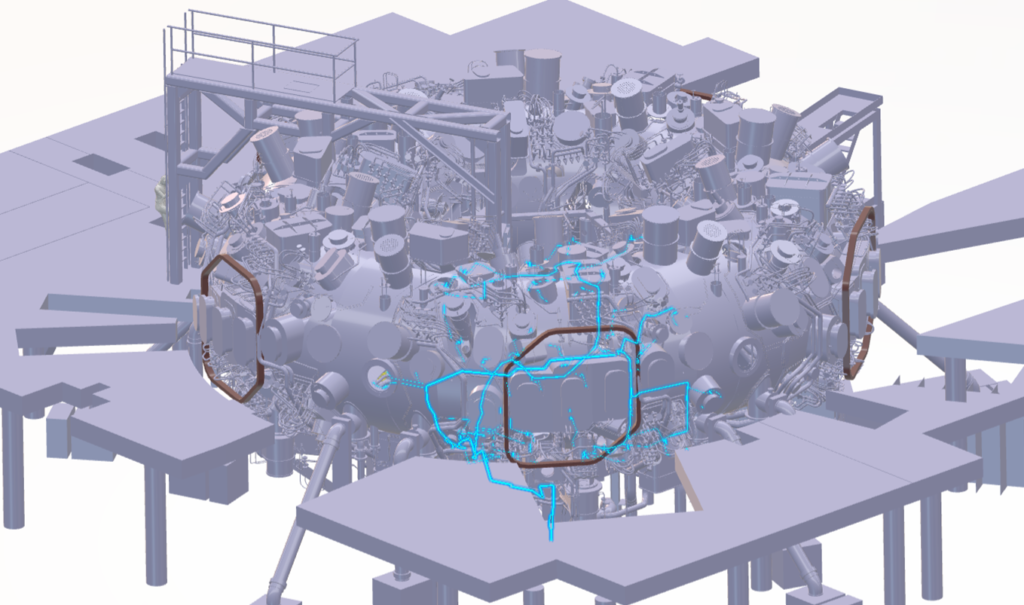
Luckily, 3DEXPERIENCE ENOVIA provides a suite of filtering tools that allow designers to define context with a click of a button, making the size of the model a non-issue.
What the Filter Command Does

The Filter command found under the Navigation tab of the Product Finder app (Explore mode) provides various options to filter a product structure:
- From Selection
- Create a Filter based on manually picking which components of the assembly structure should be kept or removed.
- By Attributes
- Create a Filter based on attributes of the assembly structure components (e.g. Description, Title, etc.).
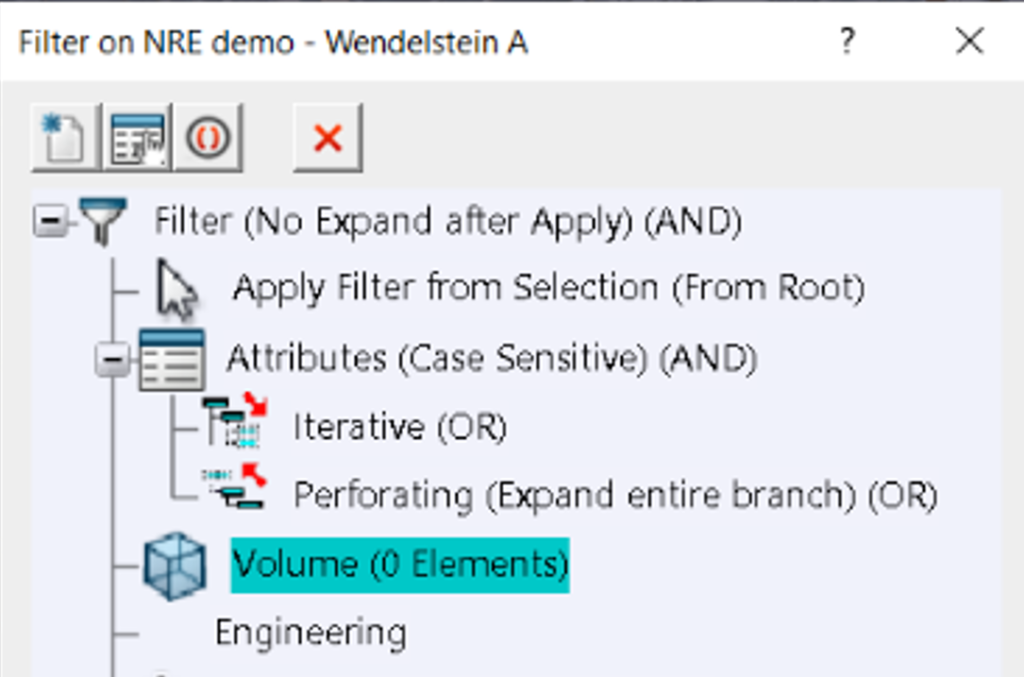
- Volume Filter
- Create a Filter based on the location and shape of geometry in 3D. The locations are defined by geometrical shapes such as Cubes, Spheres, or Proximity around components.
- Engineering Filter
- Create a Filter based on predefined configurations created in other 3DEXPERIENCE applications.
Once a Filter is defined, a filter symbol indicates that a Filter is applied. A Filter can be stored and used to open the filtered structure directly for authoring or create a filtered view in a drawing.
How to Define a Volume Filter for a Large Assembly
In the Filter command, double-click on Volume to define a Volume Filter.
In the Volume Filter Definition dialog box, various shapes are available for defining the volume. Select the Tube System and click on Offset type. A volume offset from the selected tube system is created:
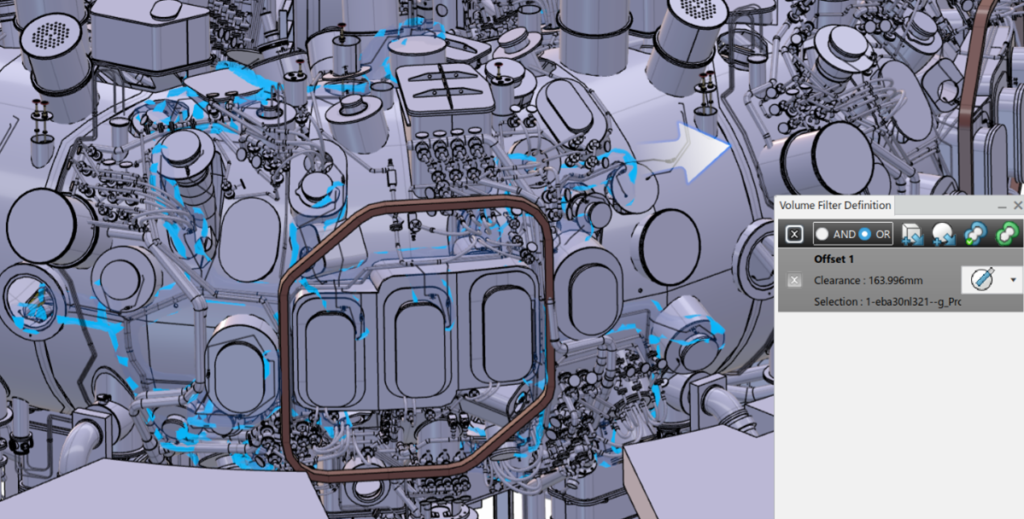
Use the cursor to resize the volume:
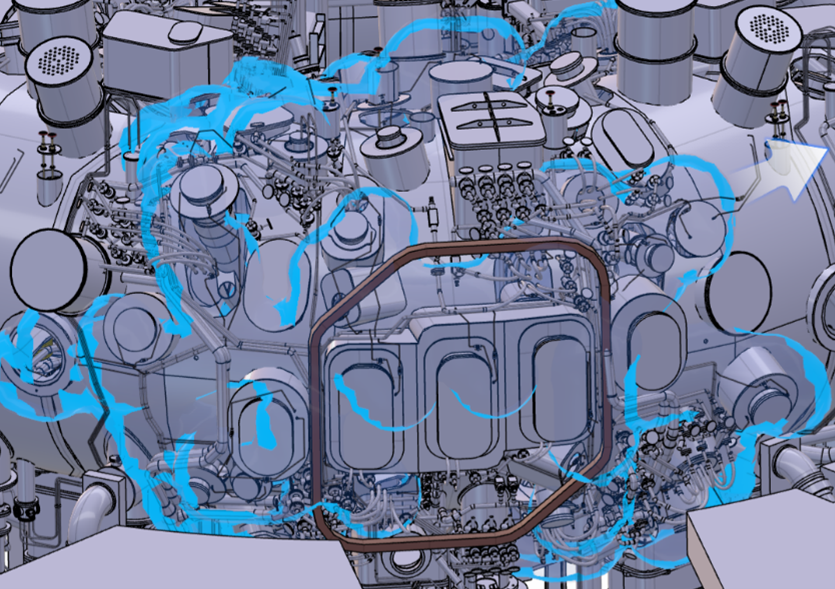
Validate the volume to confirm the creation of the volume filter.
Once the volume filter is applied, the assembly is filtered, removing any parts that are not touching the defined volume.
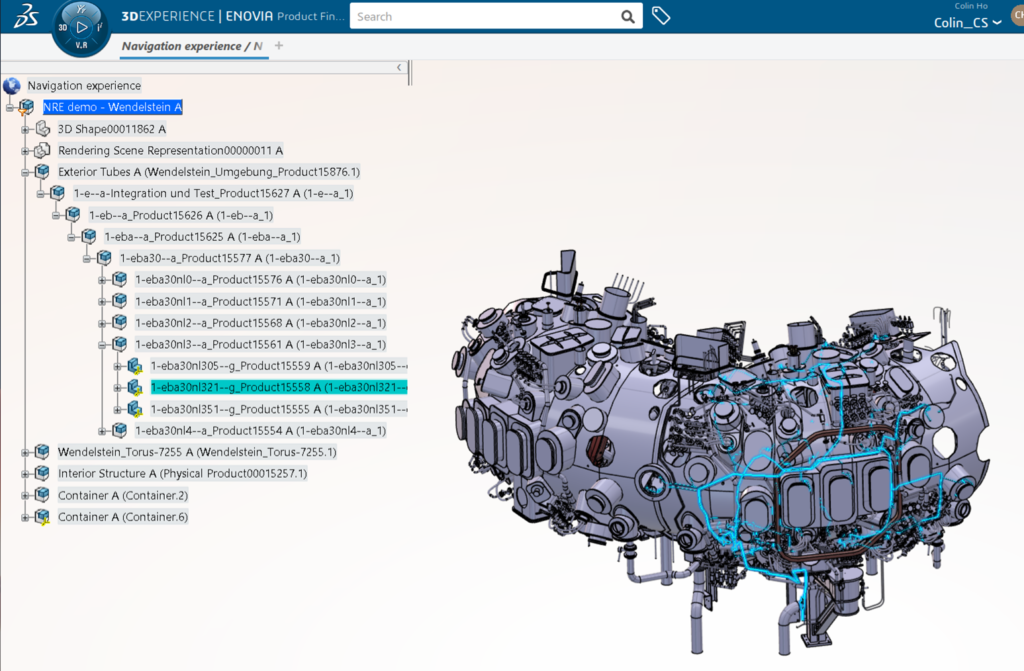
Et voilà! With the filtering capability in 3DEXPERIENCE ENOVIA, a task that would have taken hours in conventional CAD software can now be performed in only a few clicks.

